The ability to print barcodes is usually very easy. However, much of it depends on the barcode labels you are using and even more so, your printer's ability to print a PDF correctly. PDF stands for Portable Document Format, a versatile file format developed by Adobe in 1993 to present documents independently of software, hardware, or operating systems. It preserves fonts, images, and layouts across all devices, making it ideal for sharing, printing, and securing documents like forms, contracts, and reports. A PDF is a exact definition of what must be printed so make sure your printer does not have settings to "Fit" or "Scale" when it prints.
Unfortunately we cannot see or change your printer settings, and therefore cannot support you with this. Speak to your IT support if your printer does not print the PDF.
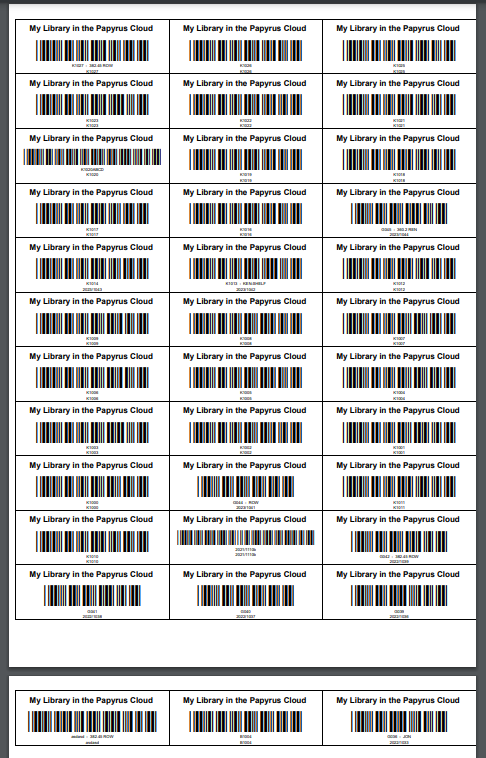
It is for that reason you will need to experiment with the various parameters in Papyrus and your printer. Use normal A4 paper for testing and hold it up to light with a sheet of your selected pre-cut barcode paper in front to see if it aligns. These instructions below should help you with getting the labels exactly right.
Choose a predefined label sheet
Papyrus has a number of predefined label sizes. These are easily obtained from local stationery shops or online stores. This is the easiest way of setting up Papyrus to print barcodes. The most common format is the Redfurn L7159, Tower W109 labels which have 24 labels on a page and with margins around the sheet to accommodate printers that struggle to print without margins.
Search online for Tower W109 labels. 3 x 8 (24 per page) or Search for W239 labels. 3 by 13 (39 per page)
Setting up your own custom labels
If you choose this method, please record the settings that you eventually use. If you select a predefined label sheet, it will overwrite your settings.
Unit Conversions
1 Centimeter = 10mm = 2.83 points
1 inch = 25.4mm = 72 points
Basic Setup instructions
If you have one of the default A4 laser label sizes, select it. You can make minor adjustments to the margins and label size to suit your printer
Step 1 - Decide what unit of measure you will work in. Points are accurate but you can work in mm.
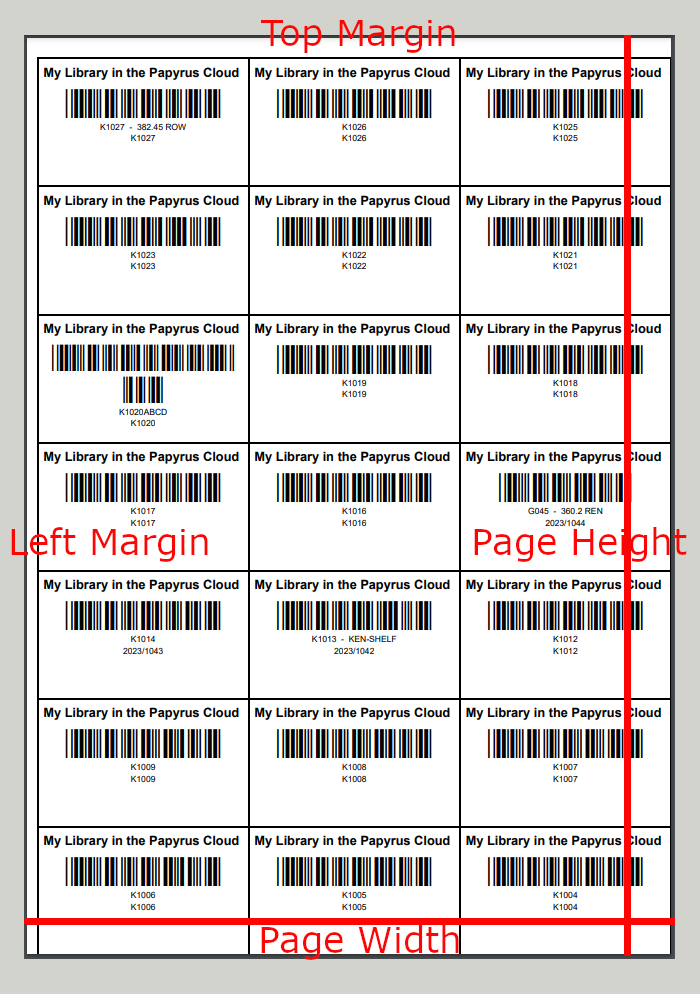
Step 2 - Measure your left and top margins. Enter these. If your label paper has no margins, enter 0 for both left and top margins
Step 3 - Enter the number or labels across and down. For example a 24up paper has 3 across and 8 down.
Step 4 - Enter the width and height of the label. A 24up paper, with no margin has labels which are 70mm wide and 37.1mm high
Step 5 - Make sure that when you print, the margins are set to None and the scale is Default and no page headings
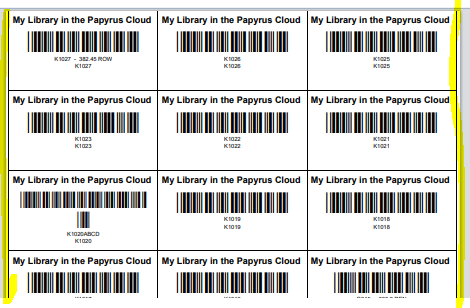
Step 6 - Print a Test Barcode Sample which will draw a page of labels together with the label margins
Adjustments
If the single page runs over to a second page, either your top margin or label height is too big
If the labels are not centered, your left margin or label width is incorrect
If your labels move from row to row, then your label height is incorrect
Page Size
Heading Font and Size
 |
Barcode Font and Size
 |
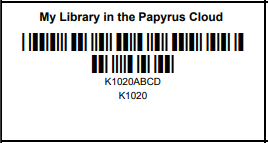
Barcode Label
 |
Barcode Font Size

|
Barcode Scale
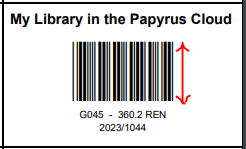 |
Print Shelf option
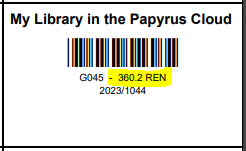 |
Print Accession Number option
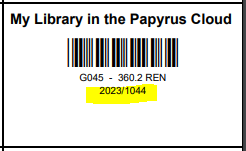 |
Troubleshooting
If your barcode wraps, increase the Barcode Scale
If your labels wrap to the next page, decrease the Page Height
If you labels are cutting off on the edges, add a margin and deduct that twice off the page width. For example an A4 page is 595 points wide. If you add a 5 point margin, reduce the page width by 10 points. The ability to print close to the edge of the paper depends on your printer.